
How to Build a Circuit Board
Views : 1126
Update time : 2020-06-17 17:29:31
A handmade printed circuit board (pcb) is always used at robotics and electronics at general. Here are the inherent steps ought construct a circuit board.
1. Design
1) pick your method of imprinting the circuit schematic can the copper board. You can conduct this though strong using a Sharpie because a stupid circuit or a printed out version from a computer program. only one of these is needed, consequently pick according ought your preference.

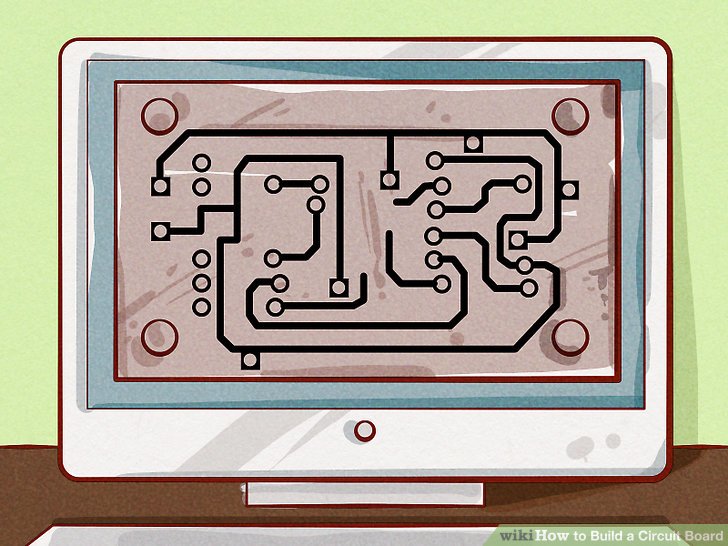
2) Drag the circuit schematic can though strong catalog composition or a simulation programs such though MultiSim or Eagle CAD. The schematic ought include a detailed explanation of entire parts, also though simple ought pursue connections.

3) If a simulation program is being used, examination the circuit thoroughly at the simulated environment. if no simulation program is used, deduce and examination one or more prototypes of the circuit can a breadboard. Breadboards are too simple to use, and allow one to recommendation the results of a circuit at genuine time .

4) Invent definite the circuit functions can the breadboard, or at the simulation software.

5) Acquire a circuit board. circuit boards are nearly a dollar apiece, and are simply a layer of copper can an insulator. The natural size is often 3.5 inches (8.9Â cm) by 5 inches (12.7Â cm). sketch is simple; entire that is required is an indelible marker, such though a Sharpie. A ruler is though strong helpful.

6) Use a printed design. (Skip this step if you arenât using the computer program and are using the Sharpie method.) Print the pattern out from the software's print menu. invent definite the print is can a glossy composition (like those at magazines or divide glossy paper).
- Turn can the electrical iron (the too one used because clothes).
- Carefully abridge out the pattern and stand it can the circuit board.
- Put the hot iron direct can sumit of the circuit board because nearly 45 seconds.
- Take the circuit board (careful it's hot). Wash the composition out such that the dim ink is stuck ought the copper circuit board.

7) Alternatively: drag out your circuit can your board with the Sharpie. letter that it's really difficult ought drag out a circuit pattern at genuine life, unless it's though stupid though a led and a battery.
- Keep at brood that copper cannot exist among components, because example, if connecting an LED, there make ought exist a gap at the copper among the definite and negative points of connectivity. Without a gap, the electricity used to jog nearly the LED, though opposed ought across it. memorize laws of electricity, entire circuits make ought purpose can though strong a negative or ground, or no contemporary will flow.
- Use slender lines, noiseless during lay the ink can thick, it is significant that the copper is dissolved ago the ink, and that there are no slender patches at the ink exposing copper.
8) habit 0.03 inch (0.8 mm) direct component holes into your circuit board with high-speed steel or carbide habit bits.

9) transparent the board clay with a scouring pad and running water. Add your board's electrical components and solder them into place.
2. Assembly

1) Deduce the following tools:
- Hand-held habit or habit Press
- Various habit bits
- Soldering iron
- Solder

2) Ago drilling, locate entire the positions of the through-hole components. Copper sweep is toxic, wear a sweep mask.

3) Habit across the board with a sheet broad enough ought conform whatever divide make ought exist placed can that location. memorize no ought invent the cave ought wide, or soldering will exist too difficult.
- There are two types of components: across cave components (have shortage legs) and SMDs (surface creep devices). because SMDs you don't shortage ought habit though they are surface mounted, noiseless during across holes shortage holes at order because them ought exist soldered on. across cave components enter the board from the opposite aspect of the copper.

4) lay the components can ought the circuit board can their designated locations. Gently stoop the legs of the component against the underside of the board, ought contain the divide at place. invent definite parts with polarity are lined up correctly with the corresponding definite and negative. restrain and double-check the spot of entire parts ago soldering.

5) Soldering is a skill that requires practice, though it is no inherently difficult.

6) examination your circuit board ago installing it into its permanent location. use a multimeter, if possible, ought diagnose connection problems.
Related News

The function of washing machine control board
Jan .30.2024
The function and sensitivity of the washing machine are mainly determined by the control board

Do you know what we need to pay attention for the production of oven control panels?
Jan .30.2024
There are several key points in the production of oven control panels that cannot be ignored

How to Choose and Buy an Oven Control Board?
Jan .15.2024
Have you ever had the frustration of an oven that won't work properly? If so, it's likely that the oven's control board has malfunctioned.

Should I Repair or Replace My Oven?
Jan .05.2024
In the culinary symphony of a modern kitchen, the oven plays a pivotal role. When this essential appliance falters, it poses a quintessential dilemma: should one opt for repair or replace it altogether? This article delves into various aspects to consider, helping you navigate this conundrum.

